Learn How To Use Save for Web to Prepare Graphics

 This Photoshop tutorial series is for webmasters who are new to preparing artwork for the web. Premise for Photoshop Tutorial Series: You are a web designer at a small agency, and a client has called to request that you prepare a mock-up for a new home page for is company that sells gifts in Victoria. This Tutorial series was perfected and used in College Web Master classes by Author/Instructor Scott Frangos. Now you can build your Web Graphics skills in Photoshop, as you learn your way through this classroom tested series on preparing Art for the Web.(In this lesson you will review several methods for optimizing graphics for use online.)You’re going to use Photoshop in this Tutorial (and throughout the series). In This Tutorial, we’ll prepare a photograph to be used on a website.
1. Open Photoshop on your computer (do this exercise in Photoshop 7.x, or CS.x).
2. Download from this website for the course, the first graphic — “building.jpg”, shown small below. To download, it, either right click it (Windows user), or Control click it (Mac Users), and Save it to your disk in a folder you’ve created for your website graphics. Note that the photos used in this course are released for your educational purposes, and also that unless likewise stated, ALL photos and images on the web are copyrighted by their creators – even if no copyright symbol appears.
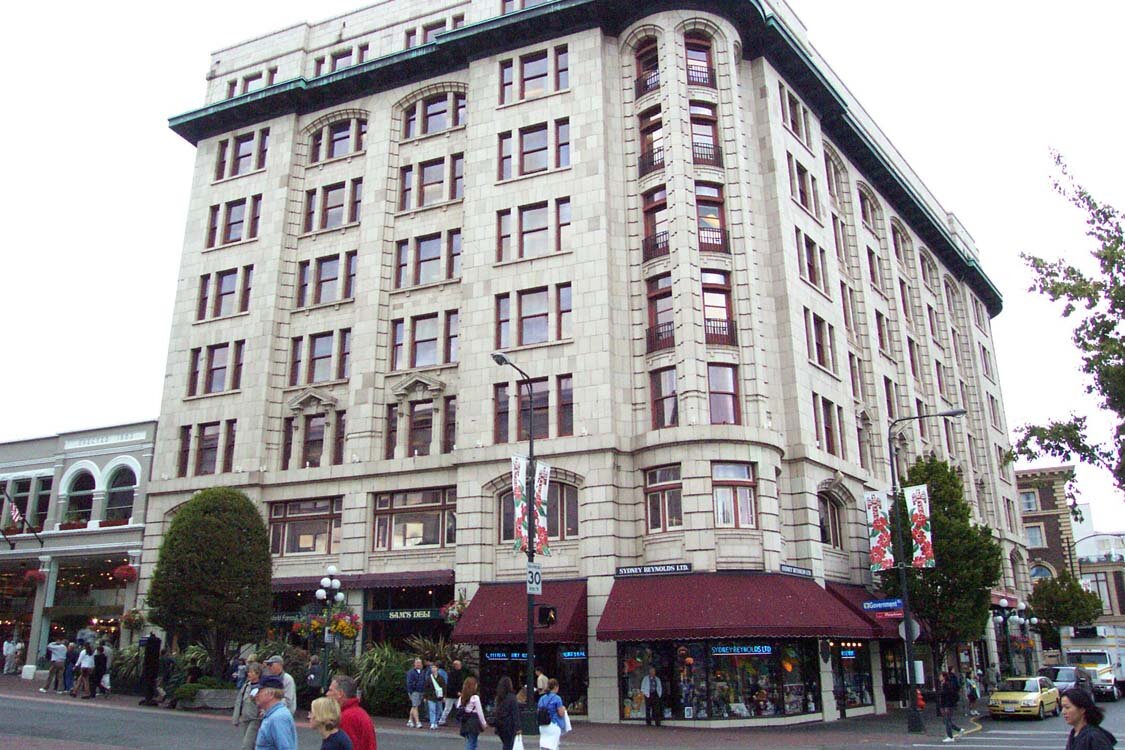
This image will actually be much larger after you save it to your hard-disk, then open it in Photoshop. Down-sizing it to an appropriate pixel size is one key concept in this tutorial.
3. Under the Edit menu choose “Image Size” and change the dpi to 72 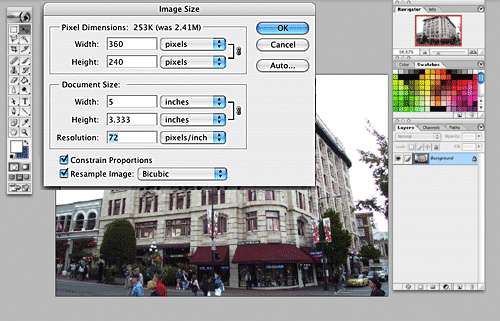
4. Open “Save for Web” under the File menu
5. Select the 4-up tab setting, and change the upper right version to 70 quality JPEG (click that upper right image first to select it, so you can change its settings on panel at right).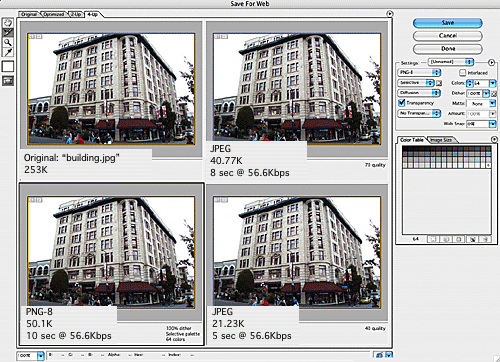
The “4-up” view, above, shows the original photo at upper left, then a high quality JPEG version, a lower quality JPEG version, and a PNG-8 version (clockwise), with a comparison of file sizes and download times. Make a visual comparison of the three new versions to the original. Note that while the 4-up setting is useful for students to compare up to three changes from the original graphic, you can use the 2-up setting when you’ve narrowed your choices and want to work more efficiently.
6. Change the lower left image version to PNG-8 with 64 colors. Change the lower right version to 40 quality JPEG, using settings controls at upper right. PNG-8 (Portable Network Graphic) format can sometimes be a good option on the modern web, since most browsers now support it. Often it will solve any artifact problems in your images, and do a better job on photos than GIF format does. In our example, however, we rule it out, since it would take 10 seconds to download, and also, the red color of a jacket in the foreground is lost when PNG reduces the colors in the image (part of the way the format reduces file size).7. Note that while the 30 quality JPEG version gives the fastest download speed, there are some “artifacts” — random unwanted pixels — in the image. Type .2 into the Blur setting box to remove them (also try .25, which might be slightly better), and change the Quality setting to 60. Zoom out to double-check that the image looks OK at 100% size (many defects visible at zoomed sizes are not visible to the naked eye at the actual size you will display a photo – 100%). This removes most of the unwanted “artifacts”, though the download time is a few seconds higher (a good compromise as high speed internet connections proliferate).
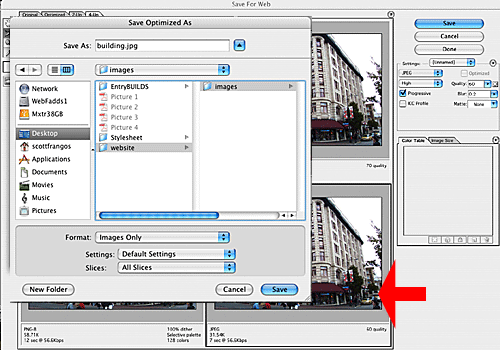
Compare 30 Quality JPEG to 60 Quality: Above right shows a JPEG quality of 60 percent, with a blur of .2 — which removes most of the small pixels around the edge of the building seen on the left, called artifacts. Download speed is increased to 7 seconds at 56k dial-up speeds, but since many users have even higher speed connections, this is a good trade off.8. Click the lower right image first to select it (the one without the artifacts). Then, “Save” this image to a folder you create and name “images” inside another folder you create first, named “website”. Creating this folder set-up will save you time and maintain efficient linking structure when you move your website online to an internet web server (like you rent with a website hosting plan).
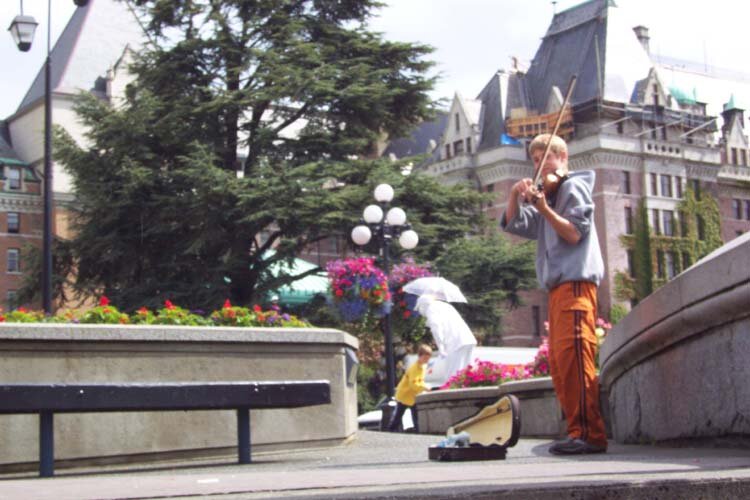
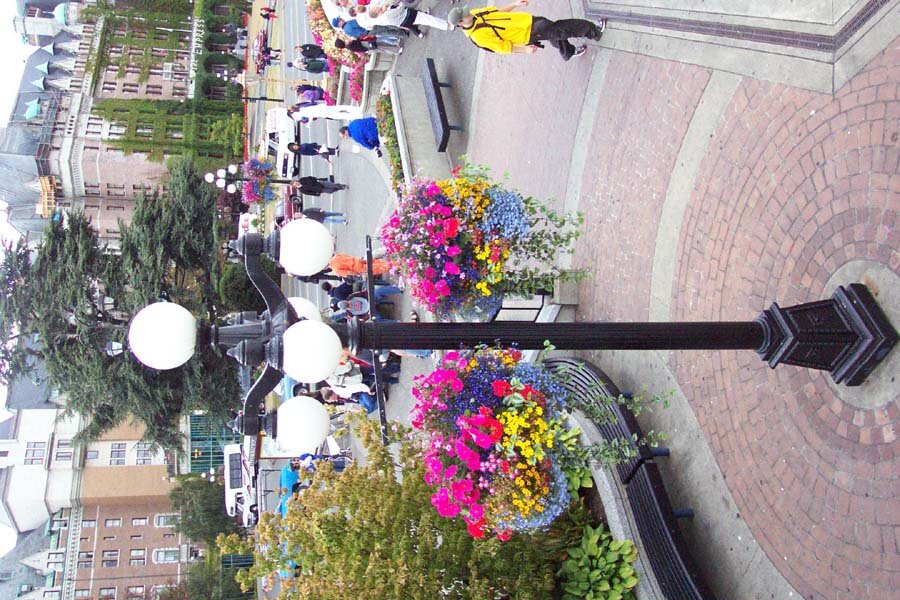
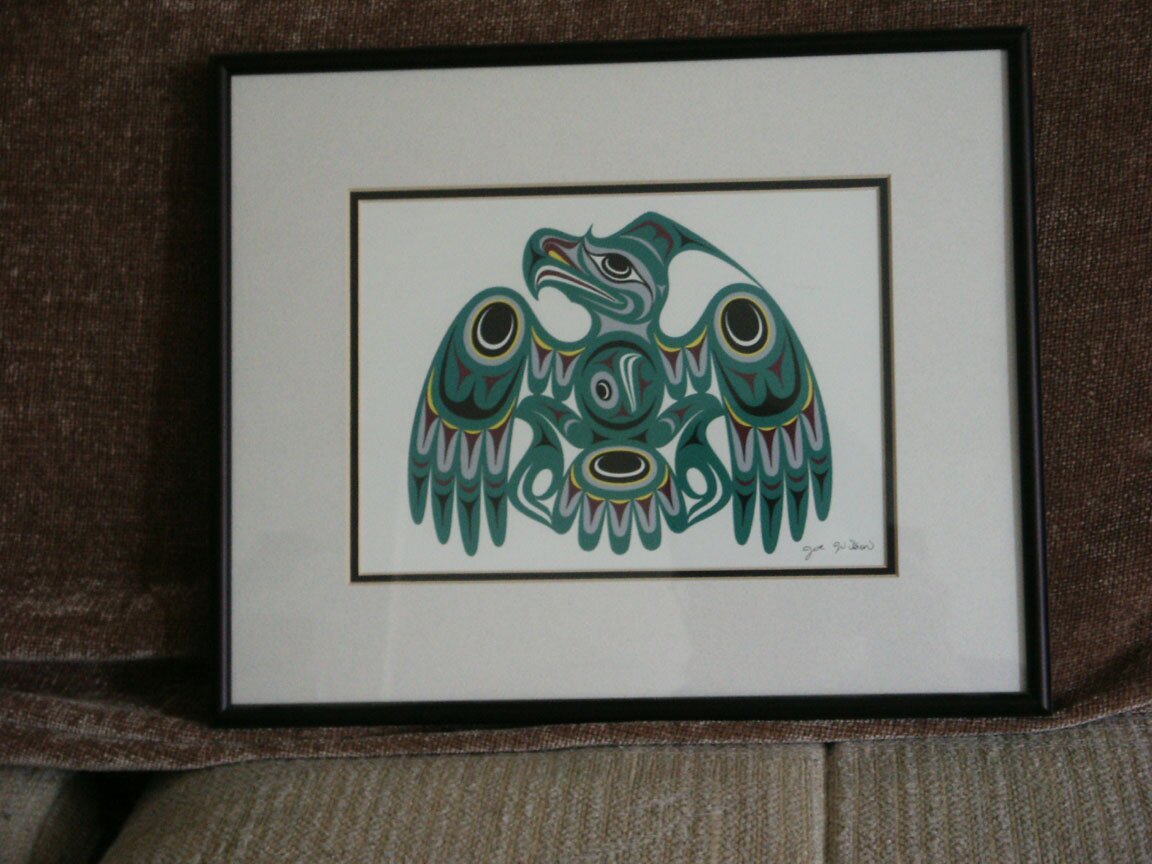
9. Repeat this process with the other three images for the course (below) — “fiddler.jpg”, “poleflowers.jpg”, and “picture.jpg”, shown left to right below. (right-click or control-click and save as you did with the first image, then open in Photoshop, resize, and use “Save For Web” to practice making the images ready for display on the web, paying attention to download times, and artifact removal technique).
Next Art For Web Tutorial: In the next Tutorial in the series, we will use a screenshot of a browser window as a template for our web page, and create a navigation bar.
May 16th, 2007 at 10:43 am
[…] Open the 3 images you saved in exercise 1 so you may combine them for a collage. Note that you might like to open them all, then zoom out to […]
June 18th, 2007 at 5:18 pm
[…] 2. Open the file “picture.jpg” (it is available for download in Lesson 1). […]